Never Lose a Memory: Your Ultimate Guide to Backing Up Phone Photos and Videos
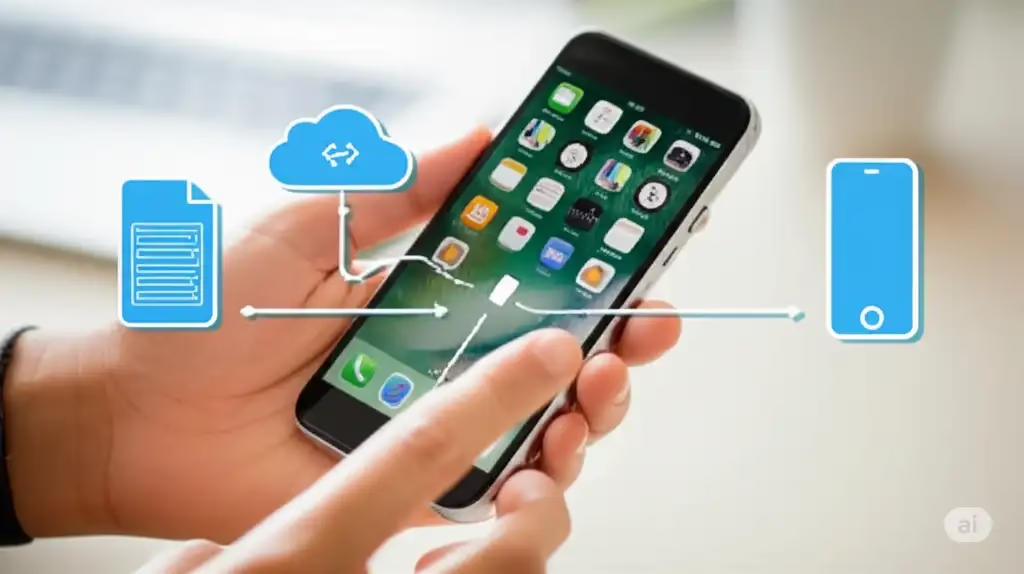
Our smartphones have become our primary cameras, capturing countless precious moments, from everyday snaps to once-in-a-lifetime events. But what happens if your phone is lost, stolen, or damaged? Those irreplaceable memories could vanish forever. This article will guide you through various methods to back up your photos and videos, recommend the best and easiest approach, and provide step-by-step instructions to ensure your digital memories are always safe and accessible. Learn about how to do a phone photo and video backup.
Why Phone Photo and Video Backup is Crucial
Imagine this: your phone slips from your hand, hits the pavement, and the screen shatters beyond repair. Or, you accidentally delete an entire album of vacation photos. Without a proper backup, those memories are gone for good. Backing up your photos and videos is like creating a digital safety deposit box for your most cherished visual treasures.
Different Methods for Phone Photo and Video Backup
There are several ways to back up your phone’s media. Each has its pros and cons, catering to different needs and technical comfort levels.
1. Cloud Storage Services (Recommended)
Cloud storage services are undoubtedly the most convenient and often the easiest way to back up your photos and videos. They automatically sync your media to secure servers online, accessible from any device with an internet connection.
- Pros: Automatic backups, accessibility from anywhere, easy sharing, often free tiers available.
- Cons: Requires an internet connection, storage limits on free plans, privacy concerns (though reputable services are generally secure).
Popular Cloud Storage Services:
- Google Photos: Excellent for both iPhone and Android users, offering robust organization and search features. Previously offered unlimited storage of “high-quality” photos, now offers 15GB free storage shared across Google Drive, Gmail, and Google Photos.
- iCloud Photos: Apple’s dedicated cloud service for iPhone users, deeply integrated into the iOS ecosystem. Offers 5GB free storage.
- Dropbox: A versatile cloud storage service with dedicated photo backup features. Offers 2GB free storage.
- OneDrive: Microsoft’s cloud storage, often integrated with Windows computers and Office 365. Offers 5GB free storage.
- Amazon Photos: Free unlimited full-resolution photo storage for Amazon Prime members, plus 5GB for videos.
2. Computer Backup (Manual Transfer)
You can manually transfer your photos and videos to a computer (PC or Mac) using a USB cable.
- Pros: Full control over your data, no internet required after initial setup, no storage limits beyond your computer’s hard drive.
- Cons: Manual process, requires a computer, can be time-consuming for large libraries, no automatic backups.
3. External Hard Drives/SSDs
For a more robust local backup solution, you can transfer your media to an external hard drive or Solid State Drive (SSD).
- Pros: Large storage capacity, high speed (especially SSDs), no internet required, one-time purchase.
- Cons: Requires manual transfer, can be lost or damaged, not accessible remotely.
4. NAS (Network Attached Storage)
A NAS is a dedicated device that connects to your home network and provides centralized storage for all your devices. It’s essentially your own private cloud.
- Pros: Large storage capacity, accessible from all devices on your network, high level of control, can set up automatic backups.
- Cons: Higher initial cost, requires some technical setup, relies on your home network.
Recommended Best and Easiest Method: Cloud Storage (Specifically Google Photos)
For most users, cloud storage services, particularly Google Photos, offer the best combination of ease of use, automation, and accessibility. It’s cross-platform (perfect for sharing between iPhone and Android users), offers excellent search capabilities, and the initial 15GB of free storage is usually sufficient for a good start. While it no longer offers unlimited “high-quality” storage, the benefits still outweigh the cost of upgrading if you need more space.
Detailed Instructions to Setup and Perform Phone Photo and Video Backup (Using Google Photos)
Here’s how to set up and perform automatic backups using Google Photos on both iPhone and Android:
Phone Photo and Video Backup For Android Users:
- Download and Install Google Photos: If not already pre-installed, download the Google Photos app from the Google Play Store.
- Open Google Photos: Launch the app.
- Sign In: Sign in with your Google account. If you don’t have one, you’ll be prompted to create one.
- Turn On Backup & Sync:
- Tap on your profile picture (top right corner).
- Tap “Google Photos settings.”
- Tap “Backup.”
- Toggle “Backup” on.
- Customize Backup Settings:
- Backup quality: Choose between “Storage saver” (slightly reduced quality to save space) or “Original quality” (uses more space but retains full resolution).
- Mobile data usage: Decide whether to back up photos and videos over mobile data or only when connected to Wi-Fi. It’s recommended to only back up over Wi-Fi to avoid exceeding your data plan.
- Backup device folders: Select which specific folders on your phone (e.g., WhatsApp images, screenshots) you want to include in the backup.
- Initial Backup: Google Photos will begin backing up your existing photos and videos. This may take some time depending on the size of your library and your internet speed. Keep the app open or running in the background for the initial sync.
Phone Photo and Video Backup For iPhone Users:
- Download and Install Google Photos: Download the Google Photos app from the Apple App Store.
- Open Google Photos: Launch the app.
- Sign In: Sign in with your Google account. If you don’t have one, you’ll be prompted to create one.
- Allow Access to Photos: Grant Google Photos permission to access your photos and videos when prompted.
- Turn On Backup & Sync:
- Tap on your profile picture (top right corner).
- Tap “Google Photos settings.”
- Tap “Backup.”
- Toggle “Backup” on.
- Customize Backup Settings:
- Backup quality: Choose between “Storage saver” (slightly reduced quality to save space) or “Original quality” (uses more space but retains full resolution).
- Cellular data usage: Decide whether to back up photos and videos over cellular data or only when connected to Wi-Fi. It’s highly recommended to only back up over Wi-Fi.
- Background App Refresh: For automatic backups, ensure “Background App Refresh” is enabled for Google Photos in your iPhone settings (Settings > Google Photos > Background App Refresh). This allows the app to back up in the background even when not actively open.
- Initial Backup: Google Photos will begin backing up your existing photos and videos. This may take some time.
Setting Up Regular Automatic Phone Photo and Video Backups
Once you’ve enabled “Backup & Sync” in Google Photos, the app will automatically back up new photos and videos whenever:
- Your phone is connected to Wi-Fi (if you’ve set it to only back up over Wi-Fi).
- The app is open or running in the background.
- Your phone is charging (sometimes a trigger for background processes).
To ensure consistent automatic backups:
- Keep Wi-Fi enabled: Try to connect to Wi-Fi whenever possible.
- Periodically open the Google Photos app: This helps trigger any pending backups.
- Ensure sufficient storage: If you run out of free Google Photos storage, backups will pause until you free up space or upgrade your plan.
Backup Method for Sharing Photos and Videos by Both iPhone and Android
As highlighted, Google Photos is the ideal solution for seamless sharing between iPhone and Android users.
- Shared Libraries: Google Photos allows you to create “Partner Sharing” where you can automatically share all photos or specific photos of certain people with a trusted contact. This is incredibly useful for families or couples who want to share their memories easily.
- Album Sharing: You can also create albums in Google Photos and invite others (regardless of their phone type) to view, add to, or collaborate on those albums. This is perfect for sharing photos from events or trips with multiple friends and family members.
Troubleshooting Common Problems – Phone Photo and Video Backup
Even with the best methods, you might encounter some issues. Here’s a troubleshooting guide for common problems with Google Photos:
1. Photos Not Backing Up
- Check your internet connection: Ensure you’re connected to Wi-Fi if you’ve set Google Photos to back up only on Wi-Fi. Try switching to mobile data temporarily to see if that resolves the issue (but be mindful of your data plan).
- Check your storage: If your Google account storage is full, backups will be paused. You can check your storage status in the Google Photos app settings and either free up space or purchase more storage.
- Ensure Backup & Sync is enabled: Double-check that “Backup & Sync” is turned on in the Google Photos app settings.
- Clear Google Photos app cache (Android): Go to your phone’s settings, find “Apps,” select “Google Photos,” and tap “Storage.” Then, tap “Clear cache.”
- Update the Google Photos app: Make sure you have the latest version of the Google Photos app installed from the Google Play Store (Android) or App Store (iPhone).
- Check Background App Refresh (iPhone): Ensure “Background App Refresh” is enabled for Google Photos in your iPhone settings (Settings > Google Photos > Background App Refresh).
- Restart your phone: A simple restart can often resolve minor software glitches.
2. Incorrect Date/Time on Photos
- This is usually a phone camera setting issue, not a backup issue. Check your phone’s date and time settings and make sure they are correct.
- You can manually edit the date and time of photos in Google Photos, but it’s best to fix the issue at the source (your phone’s camera).
3. Photos Uploaded in Low Quality
- Ensure you’ve selected “Original quality” in the Google Photos backup settings. “Storage saver” reduces image quality to save space.
- If you’re uploading from a computer, make sure you’re uploading the original files and not compressed versions.
4. Can’t Find Photos
- Use the search function in Google Photos to search for specific dates, places, or even objects in your photos. Google Photos’ search is surprisingly powerful.
- Check the “Recently Added” section.
- Make sure you’re signed in to the correct Google account.
- If you’ve recently deleted photos, check the “Trash” or “Bin” in Google Photos. They are usually kept there for 30-60 days before being permanently deleted.
5. Sharing Problems
- Ensure the person you’re sharing with has a Google account (if using Google Photos sharing features).
- Check their internet connection.
- If sharing an album, make sure you’ve given them the correct permissions (view only, add photos, etc.).
Additional helpful information
How to share photos between iPhone and Android – Share Photos Between Android and iPhone
You can automatically sync your phone to Google Drive – Sync Your Phone to Google Drive: iPhone & Android Guide


